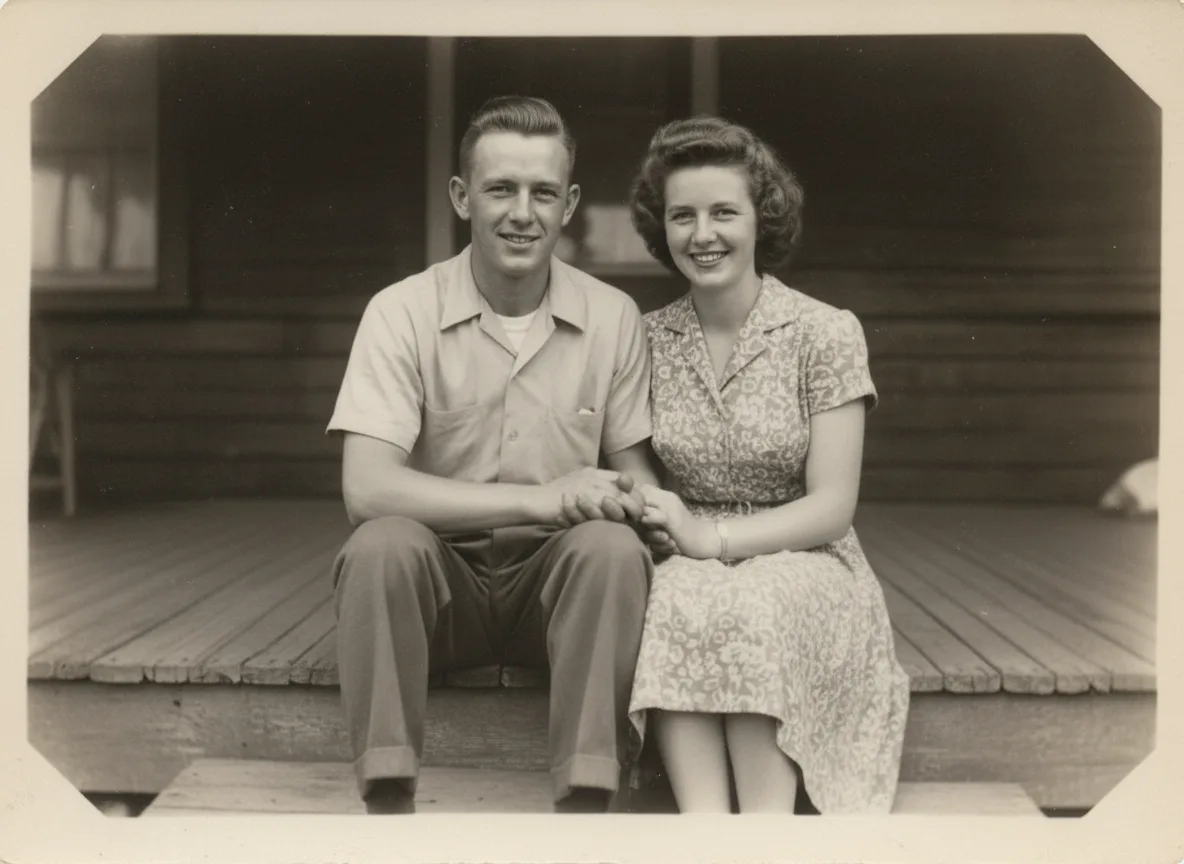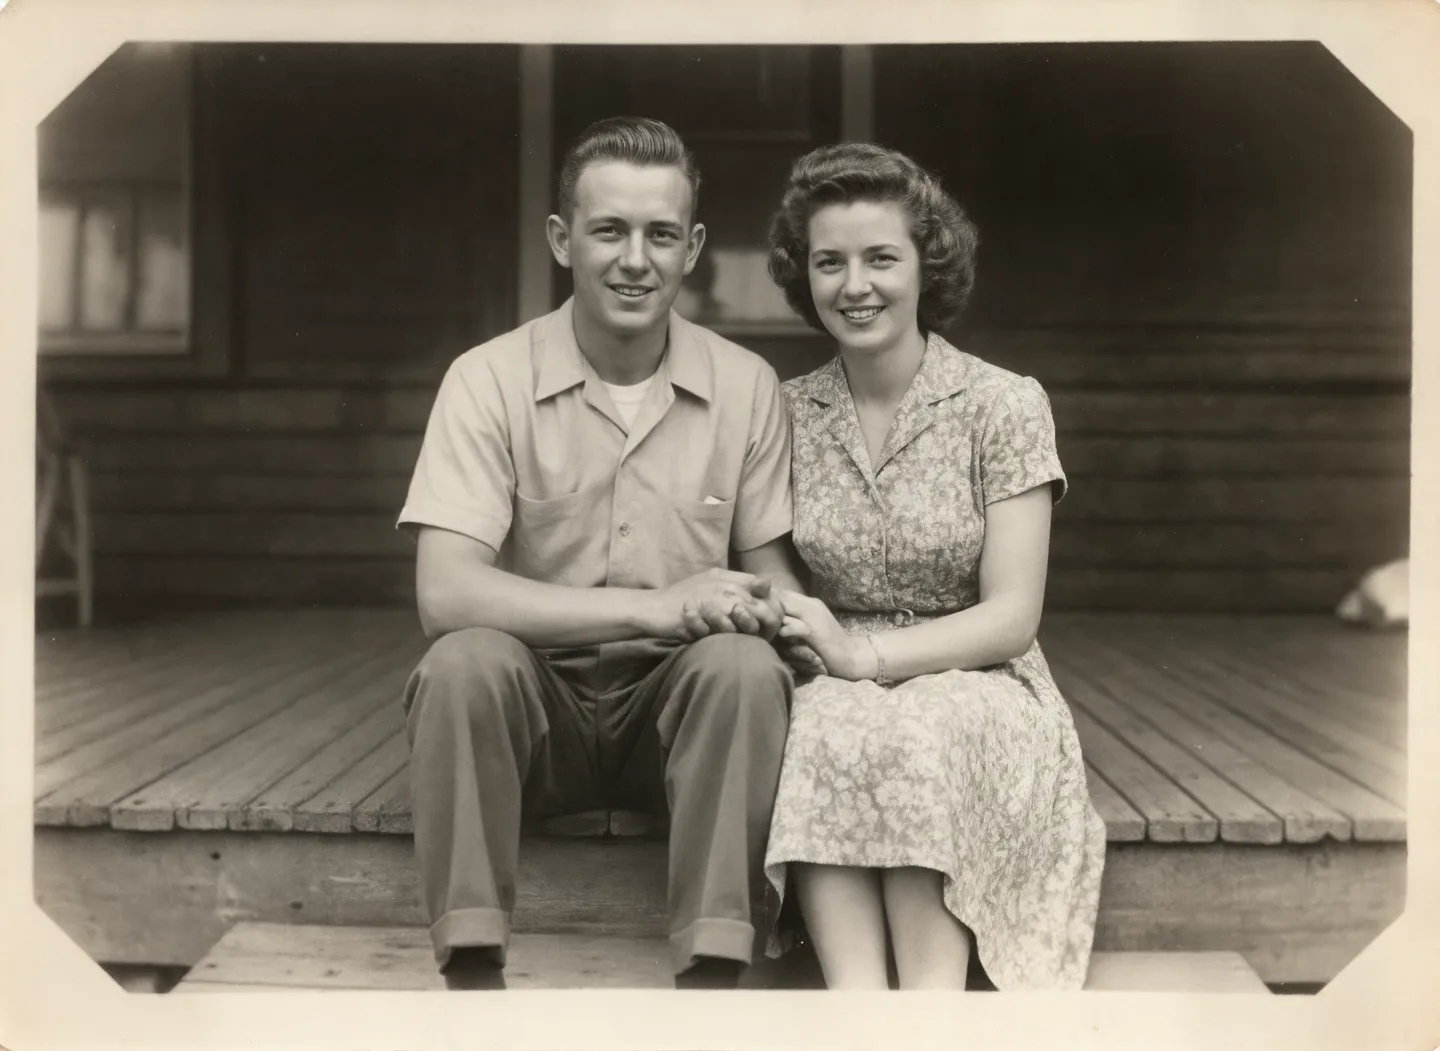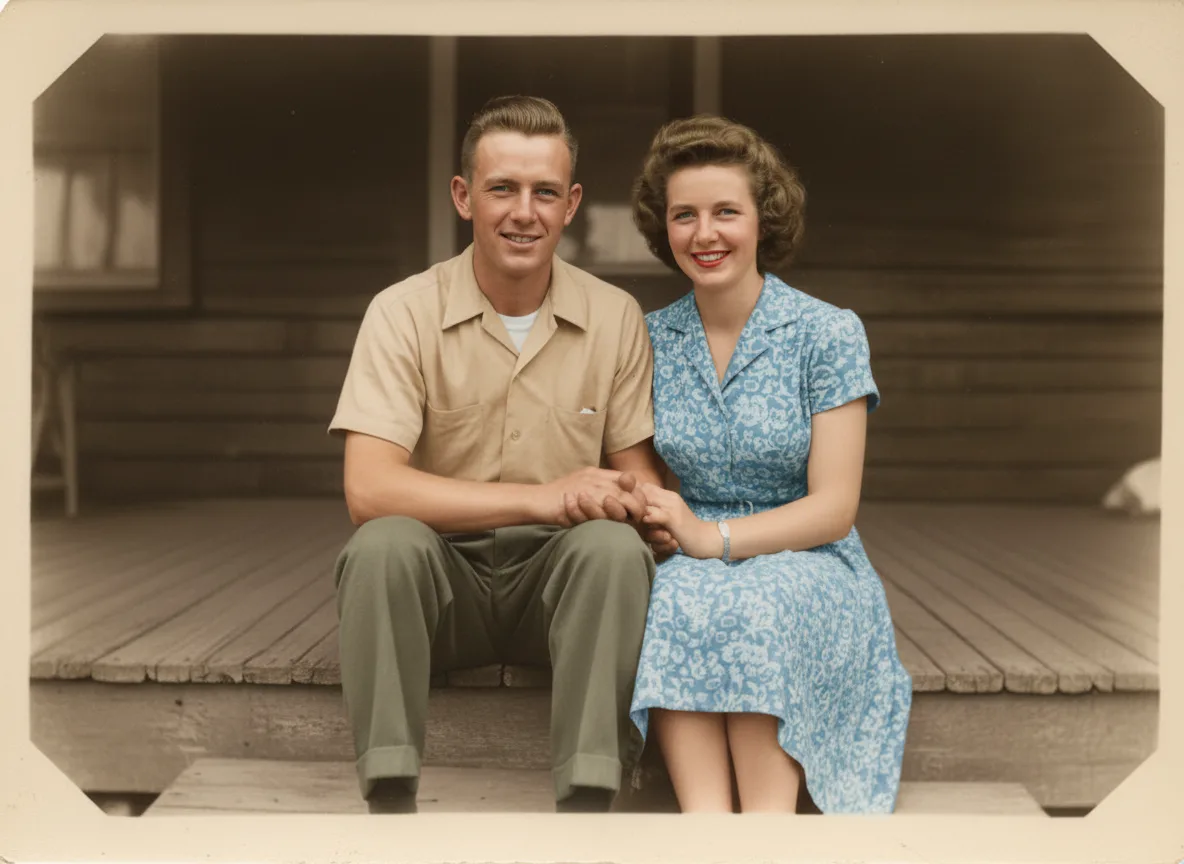
To colorize a black and white photo, scan it cleanly, repair any scratches or fading first, then upload it to an AI colorizer with a few hints about colors you know (clothes, cars, eye and hair color), generate two or three versions on different models, and keep the one where skin and fabrics look natural. The AI does not recover the real colors, because a black and white photo never recorded them; it paints plausible ones, and your hints are what make it right. This guide covers each step, the hints that change the result most, and the mistakes that make colorized photos look fake.
If your photo is also torn, stained or badly faded, start with the guide to restoring old photos, which covers repair in depth. This page is about color.
What an AI colorizer actually does
A black and white photo stores one value per pixel: how bright it was. A red apple and a green apple of the same brightness come out as the same gray. When you colorize, an image model looks at the shapes it recognizes (a face, a sky, a lawn, a military jacket, a car from the 1950s) and paints each with the colors it has learned are typical for that thing, matched to the gray levels in your photo.
That has two consequences. Things with a typical color (skies, foliage, skin, wood) come out convincing without help. Things that could be any color (clothes, cars, painted walls, flowers) get a safe, often muted guess. The second group is where hints matter.
Step 1: Start from the best copy you have
Colorizing copies every flaw in the input and then adds color to it, so a soft or glary scan gives a soft, oddly tinted result.
- Scan prints at 600 DPI, or 1200 DPI for small ones. A phone photo in daylight, held parallel to the print with the flash off, is the fallback.
- Crop away the table and album page around the print.
- Keep the scan as your master copy. The colorized file is a new version, not a replacement.
The restore guide's section on scanning has more detail, including how to deal with glossy prints.
Step 2: Repair before you colorize
If the photo has scratches, dust, creases or faded patches, run it through the AI photo restorer first and keep it in black and white. A colorizer treats a scratch as part of the picture and may give it a color; a faded patch becomes a pale, washed-out area in the colorized version. Repair, check the faces against the original, then colorize the repaired copy.
Clean, undamaged photos (a family snapshot from the 1960s, a recent black and white portrait, a scanned negative) can go straight to the colorizer.
Step 3: Colorize with hints
Open the AI image colorizer and upload the photo. The tool tells the model to use natural, realistic, period-accurate colors and to keep every face, detail and the composition unchanged. The one thing you add is the color hints field.
Good hints are short, specific facts, separated by commas: "the dress was navy blue, the car was a red Ford, the front door was dark green". The model applies them to the right objects as long as each one names something it can see. Things worth asking family about before you start:
| Subject | Why the model gets it wrong | Hint that fixes it |
|---|---|---|
| Clothing | Any color is possible, so the model picks muted browns, grays and blues | "her coat was camel, his tie was maroon" |
| Uniforms | Military and work uniforms have exact colors the model may miss | "US Army olive drab uniform", "navy blue postal uniform" |
| Cars | Older models came in a few standard colors; the guess is often wrong | "the car was a cream and turquoise two-tone" |
| Eyes and hair | Light gray in a photo can be blue, green or hazel eyes, blond or light red hair | "blue eyes, auburn hair" |
| Lipstick and red fabrics | Early film often printed red as nearly black | "bright red lipstick", "red checked tablecloth" |
| Buildings | Paint colors are invisible in gray | "white house with green shutters, red brick chimney" |
Family memory beats guessing. A single sentence from someone who was there ("Grandma's wedding dress had a pale blue sash") is worth more than any model upgrade.
Step 4: Try more than one model
The colorizer can run on five image models: Nano Banana (the default), Nano Banana 2, Nano Banana Pro, FLUX.1 Kontext Pro and GPT Image 2. Each interprets "natural colors" a little differently. Some lean warm, some keep the film grain better, some are more willing to apply strong hints.
A good routine for a photo that matters:
- Generate once on the default model with your hints.
- Generate on one other model with the same hints.
- Put both next to the original black and white and compare faces first, then skin tone, then the hinted objects.
- If neither is right, change the hints, not the model. "Warm natural skin tones, slightly faded 1950s color" changes more than switching models.
Nano Banana Pro costs the most of the five; save it for the photo you plan to print or frame.
Step 5: Check the result before you share it
Colorized photos fail in a few predictable places. Zoom in on each before you send it to the family group chat.
- Faces. Compare eyes, mouth and jawline with the original. If anyone looks like a different person, generate again; it happens more on small faces in group photos.
- Skin. Look for a uniform orange or gray cast. Add "natural, varied skin tones" to the hints and try again.
- Color bleeding. The color of a coat spilling onto a hand or a wall is a sign the model was unsure where one object ends. A sharper scan helps most.
- Text and signs. Lettering can blur or change. If a shop sign or name tag matters, check it letter by letter against the original.
- Everything is beige. A sign the model had no hints and played safe. Add two or three facts and run it again.
Step 6: Upscale, animate, and label it
The colorized image comes back at about one megapixel: our sample went in at 1184 x 864 pixels and came out the same size. That is fine for screens and small prints. For anything larger than about 4 x 6 inches, run it through the AI image upscaler, which doubles the width and height; the guide to increasing image resolution has a table of pixels needed per print size.
If you want the people in the photo to move, animate old photos uses the colorized image as the first frame of a short clip with a blink, a smile or a turn of the head.
Finally, label it. A colorized photo is an illustration based on the original, not a record of how things looked. Keep the black and white scan next to the color version in your albums and family tree, and write "colorized" in the caption when you share it.
Colorize or restore: which guide do you need?
| Your photo | Start here |
|---|---|
| Clean black and white photo, you want it in color | This guide |
| Scratched, torn, stained or faded, black and white or color | How to restore old photos with AI, then come back for color |
| Too small or soft to print | How to increase image resolution |
| You want to cut a person out of the photo | How to make a background transparent |