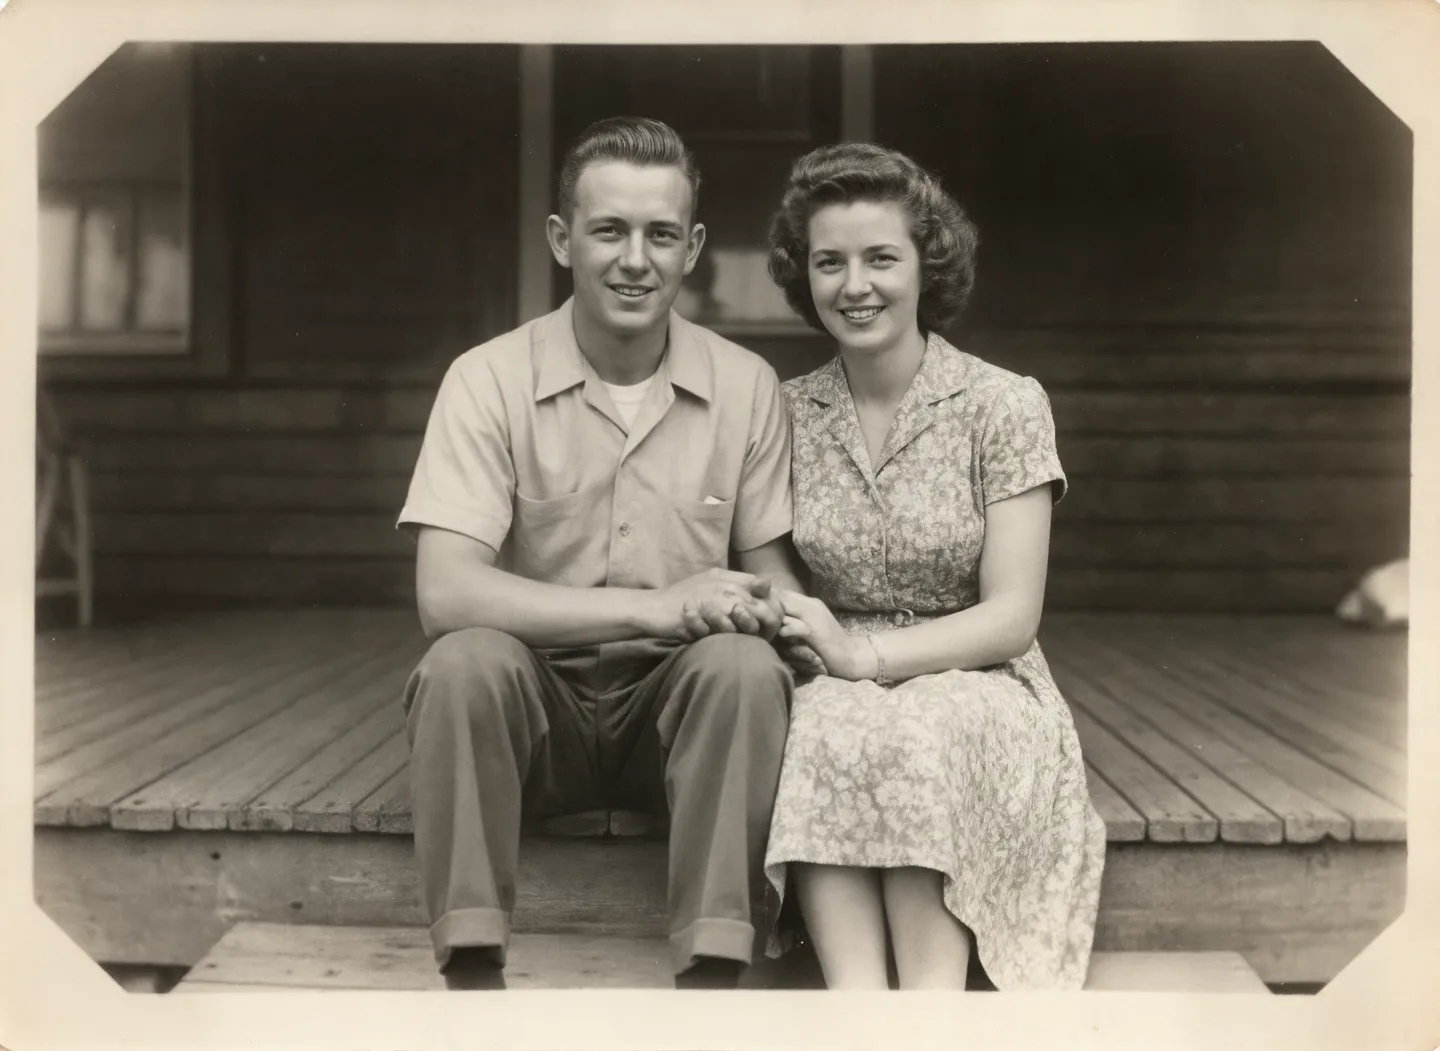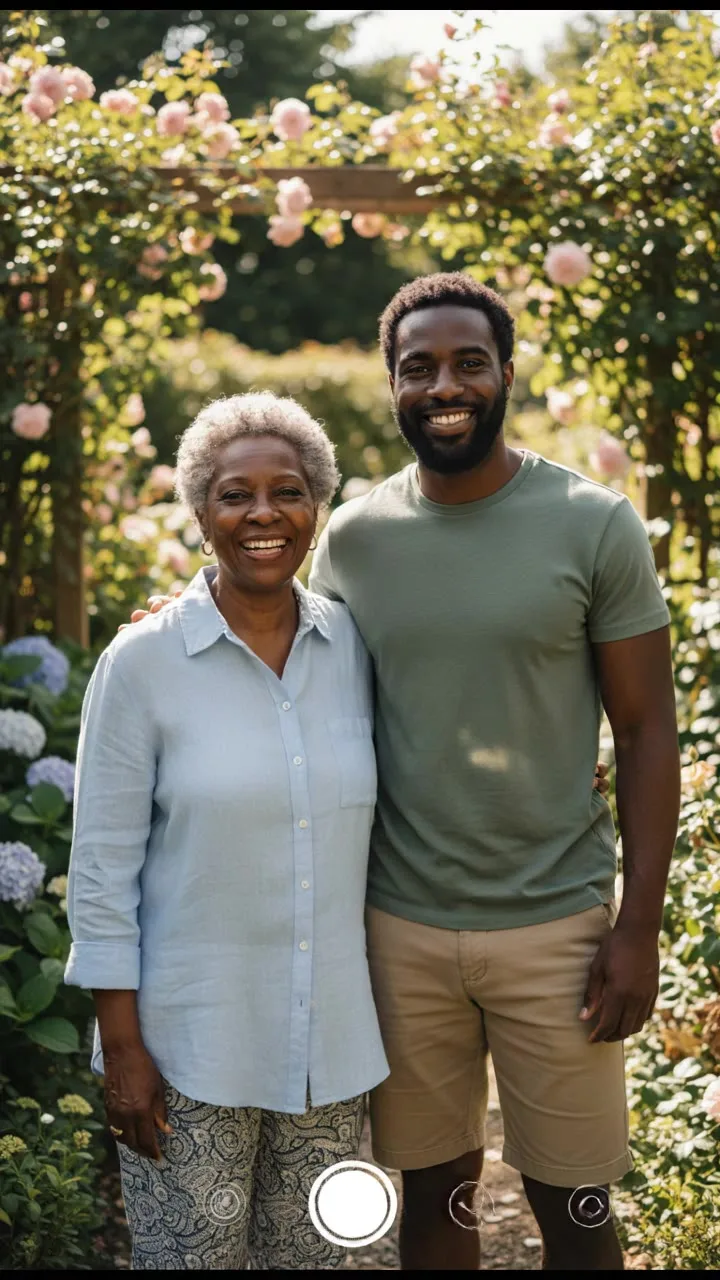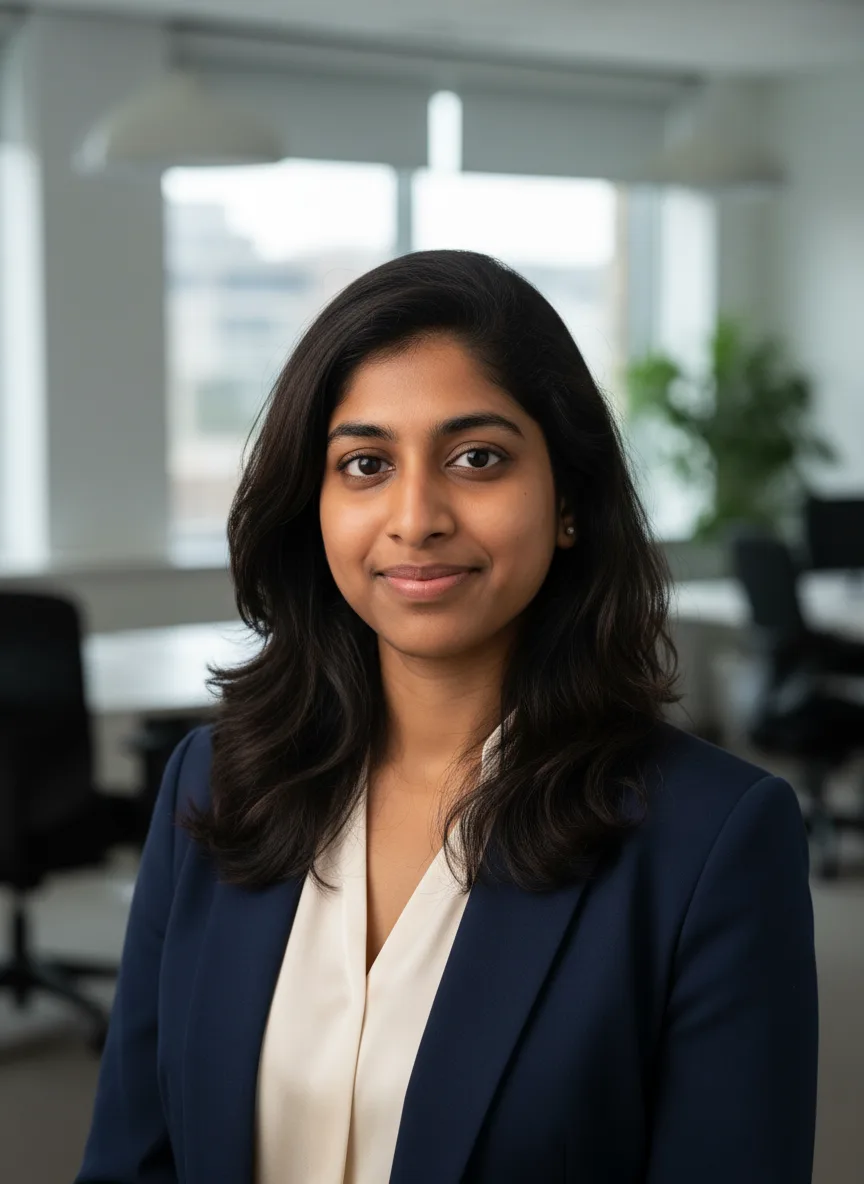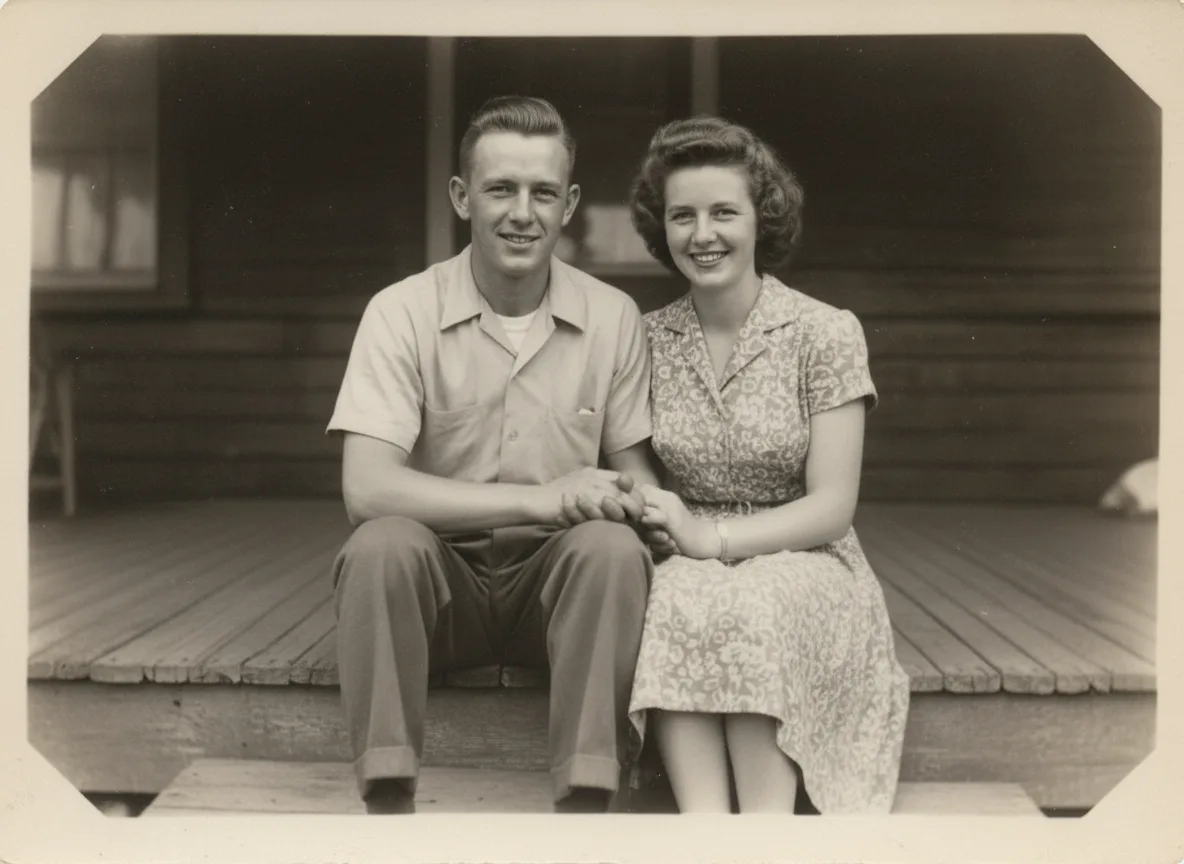
To restore an old photo with AI, scan or photograph the print flat and without glare, run it through an AI photo restorer to remove scratches, dust, creases and fading, then optionally colorize it, upscale it for printing and animate it. The order matters: repair first, everything else after, because every later step copies whatever damage is still in the picture. This guide walks through each step with the settings that make a difference and the mistakes that cost a redo.
Step 1: Get a clean digital copy of the print
The restorer can only work with what the scan shows. A good copy is the biggest single improvement you can make, and it costs nothing.
- Use a flatbed scanner if you have one. Scan at 600 DPI for normal prints and 1200 DPI for small ones (wallet photos, contact prints). Save it as PNG or high quality JPEG and keep it as your master copy.
- No scanner? Use your phone in daylight. Lay the print flat on a table near a window, hold the phone parallel to it so the corners stay square, and fill the frame. Turn the flash off: it puts a bright patch in the middle of glossy prints. Google's free PhotoScan app takes several shots and removes glare, which helps with glossy or curled photos.
- Take the photo out of the album sleeve or frame. Plastic and glass add reflections that the model may read as damage, or worse, keep as part of the picture.
- Crop to the photo, not the table. Leave the white border in if it is part of the print, but cut away the background around it.
Uploads can be PNG, JPEG or WebP. If you need more on what makes a good input, the help center page on input photo quality covers it.
Step 2: Repair the damage
Open the AI photo restorer and upload the scan. The tool sends the model a fixed instruction: remove scratches, dust, tears and stains, fix fading and contrast, gently sharpen faces, and keep every face, expression and the original composition the same. You only choose one thing, whether to keep the original black and white or sepia tones or to colorize in the same pass.
The default model is Nano Banana. You can switch to Nano Banana Pro, Nano Banana 2, FLUX Kontext Pro or GPT Image 2 from the model menu, and the credit price of each shows on the Generate button before you spend anything. Failed generations are refunded automatically.
What AI restoration handles well, and where it needs a second look:
| Damage | What the model does | What to check |
|---|---|---|
| Dust, specks, fine scratches | Removes them cleanly | Freckles and moles, which can be removed as dust |
| Creases and tears across the image | Rebuilds the line from both sides | Faces or hands the tear crosses |
| Fading and yellowing | Restores contrast and neutral tones | Skies and white clothing that turn grey or flat |
| Missing corners or holes | Invents what was there | Anything important in the missing part |
| Blur from camera shake | Sharpens edges, adds texture | Eyes and teeth, which can look painted |
| Writing on the front | Often removes or garbles it | Dates and names you want to keep |
Two habits save most redos. First, compare the result with the original at the same size, face by face, before you do anything else with it. Second, if one person looks different, generate again rather than editing the result; a second run often gets the face right where the first did not.
Step 3: Add color, if you want it
You can colorize in the restorer itself (pick the "colorize with natural, period-accurate colors" option), or restore in black and white first and then run the result through the AI image colorizer. The second route is worth the extra step for photos that matter, because the colorizer has a free text field for color hints.
Hints are where family knowledge comes in. "The dress was navy blue, the car was a red Ford, the house was white with green shutters" gives the model facts it cannot infer. Without hints it picks plausible colors: skin tones, blue sky, green grass, muted fabrics. Plausible is not the same as true, so if the photo is going into a family history or a published article, label it as colorized and keep the black and white version next to it. The guide to colorizing black and white photos has a table of the hints that change the result most, from uniforms to lipstick, and a routine for comparing models.
Some subjects are reliably harder: military uniforms and insignia, school colors, painted signs, and anything where the real color is a specific brand or regulation shade. Give hints for those or leave the photo in black and white.
Step 4: Upscale for printing
Image models on Snap AI Studio return images of about one megapixel. Our own restoration sample came back at 1184 x 864 pixels, which is fine on a phone screen and too small for a sharp print. The AI image upscaler doubles the width and height and adds detail as it goes, so that sample became 2368 x 1728 pixels.
That is enough for a 5 x 7 inch print at 300 DPI, or an 8 x 10 at about 200 DPI, which still looks good at arm's length. The upscaler takes images up to about one megapixel (1024 x 1024 pixels in total), so a restored image fits as it is, while a full resolution scan does not and does not need it. The guide to increasing image resolution has the print size table and the other options for larger files.
Upscale last among the image steps. Upscaling before restoring sharpens the dust and scratches along with everything else, and then the restorer has to work on a bigger, noisier picture.
Step 5: Bring the photo to life
The last step is optional and the one people share most: a short clip where the people in the photo blink, smile or turn toward the camera. Animate old photos uses the restored (or colorized) image as the first frame of a video, so the faces and the look of the print carry over.
The tool offers four motions: a soft blink and smile, a slight turn toward the camera, a breeze moving hair and clothes, or people laughing together. Gentle motions look the most natural on old photos; big movements make the model invent more of each face. The default model is Kling 3.0 Standard with a 5 second clip, and video models return 16:9 or 9:16 video, so a squarer print gets fitted to that shape. Leave some space above the heads when you crop.
Animate the clean version, never the damaged scan. A scratch that crosses a face in the first frame turns into a scratch that moves with the face.
For a hug between two people who were never photographed together, or a hug with a younger version of yourself, the AI hug video ideas post covers how to set that up from two old photos.
A restored portrait also makes a good source for a painted gift: grandparents' wedding photos often come out well as classical oil paintings. The guide to turning a photo into a painting covers the mediums and print sizes.
Before you share
Old photos are usually of people who cannot be asked, or of relatives who can. A few rules of thumb:
- Ask living people before you post a restored or animated photo of them.
- Mark colorized and animated versions as such when they go into a family tree or genealogy site, and keep the original scan with them.
- Uploads stay private in your account and are only sent to the model that runs the job; they do not appear in the public gallery unless you share them. The content policy lists what you can and cannot create.
A quick workflow summary
| Step | Tool | Output |
|---|---|---|
| 1. Scan | Flatbed at 600 DPI, or phone in daylight | Master copy, keep it |
| 2. Repair | Photo restorer | Clean image, about one megapixel |
| 3. Color (optional) | Restorer color option, or the colorizer with hints | Colorized image |
| 4. Upscale (optional) | Image upscaler | Twice the width and height, ready for a 5 x 7 print |
| 5. Animate (optional) | Animate old photos | 5 second clip by default |
New accounts get 60 free credits once. Each restorer model has its own price, shown on the Generate button and on the model cards above, so you can check what one repair costs before you commit to a whole album. The credits guide explains how the balance works.