To increase the resolution of an image, you have to add pixels: either by resampling it in an image editor, which makes it bigger but slightly softer, or by running it through an AI upscaler, which makes it bigger and adds predicted detail. Changing the DPI setting does neither. The best results come from starting with the largest original you can find, enlarging by no more than about 2 times, and checking faces and text afterwards. This guide shows how to work out how many pixels you need, which method to use, and where each one breaks down.
First, find the biggest original
The cheapest resolution increase is the one you do not need. Before you enlarge anything, look for a better copy:
- Phone photos: the copy in your camera roll or cloud photo library is usually full size. Copies sent through messaging apps and social networks are often resized and recompressed on the way.
- Screenshots: a screenshot of a photo is limited to your screen's pixels and adds blur. Save or download the photo itself.
- Prints: scan at 600 DPI rather than photographing the print at a distance. A 4 x 6 inch print scanned at 600 DPI is 2400 x 3600 pixels, already enough for most uses.
- AI generations: many image models return around one megapixel. If the model offers a higher output resolution, regenerating at that size beats upscaling later.
If the bigger copy exists, stop here. Every method below makes educated guesses, and an original has none.
Pixels, not DPI
Resolution is the pixel count: width times height. DPI (dots per inch, also written PPI) only says how densely those pixels are packed when printed. An image that is 1200 x 1800 pixels prints at 4 x 6 inches at 300 DPI, or 8 x 12 inches at 150 DPI. It is the same file; you are choosing between small and sharp or large and soft.
That is why "change 72 DPI to 300 DPI" does nothing to quality. If an editor asks, untick "resample" and the print simply gets smaller. Tick it and the editor adds pixels, which is resampling, the first real method below.
How many pixels you need
For prints you look at up close, aim for 300 pixels per inch. For posters and canvases seen from a few feet away, 150 to 200 is enough. These are the pixel counts for common sizes:
| Print size (inches) | At 300 DPI | At 200 DPI | At 150 DPI |
|---|---|---|---|
| 4 x 6 | 1200 x 1800 | 800 x 1200 | 600 x 900 |
| 5 x 7 | 1500 x 2100 | 1000 x 1400 | 750 x 1050 |
| 8 x 10 | 2400 x 3000 | 1600 x 2000 | 1200 x 1500 |
| 11 x 14 | 3300 x 4200 | 2200 x 2800 | 1650 x 2100 |
| 16 x 20 | 4800 x 6000 | 3200 x 4000 | 2400 x 3000 |
For screens the target is the display, not the inch: 1080 x 1080 for a square social post, 1920 x 1080 for a full HD wallpaper or slide, 3840 x 2160 for 4K. A website hero image rarely needs more than 2400 pixels across.
Compare your image with the row you need. If you are within about 1.5 times, resampling is enough. If you need 2 times or more, an AI upscaler will look noticeably sharper.
Method 1: Resample in an image editor
Resampling stretches the existing pixels over a larger grid and fills the gaps by averaging neighbours. It never invents anything, so it is the safe choice for documents, screenshots, diagrams and anything with text.
- Mac Preview: Tools, Adjust Size, tick "Resample image", enter the new width.
- GIMP (free, all platforms): Image, Scale Image, and pick NoHalo or Cubic interpolation.
- Photoshop: Image, Image Size, Resample set to "Preserve Details 2.0", which sharpens edges as it enlarges. Camera Raw also has a Super Resolution option that doubles the width and height using a trained model.
Resampled images get soft rather than blocky, and a little sharpening afterwards helps. Past about 2 times, no amount of sharpening brings back texture that was never there.
Method 2: Use an AI upscaler
An AI upscaler looks at the image, recognises skin, hair, fabric, leaves or brick, and draws in detail that fits. The result looks sharp at sizes where resampling looks smeared. The trade-off is that the detail is a prediction: a face can gain a slightly different texture, and small text can turn into convincing nonsense.
The AI image upscaler on Snap AI Studio uses the Clarity upscaler. It doubles the width and height (four times the pixel count) and accepts images up to about one megapixel, which is the size of most AI generations and small web images. An optional description, such as "portrait of a woman, film photo", tells it what kind of detail to add.
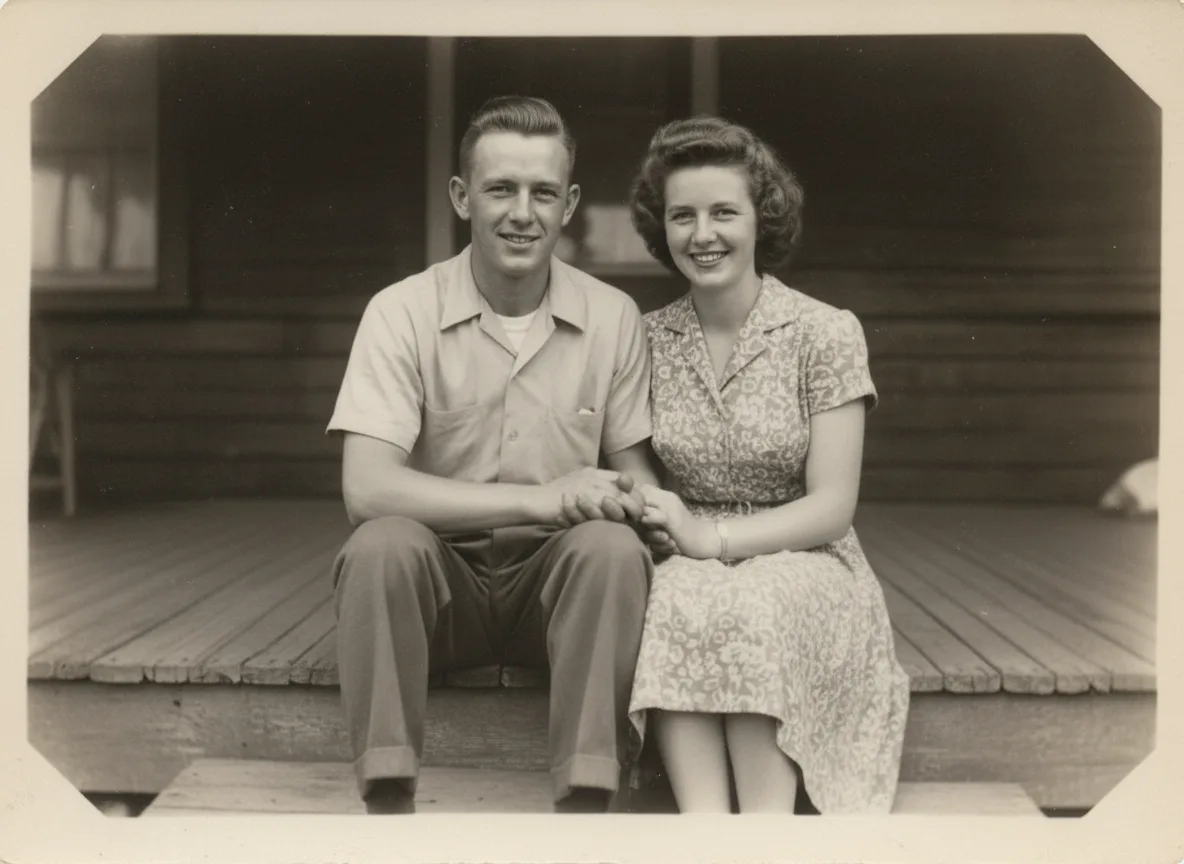
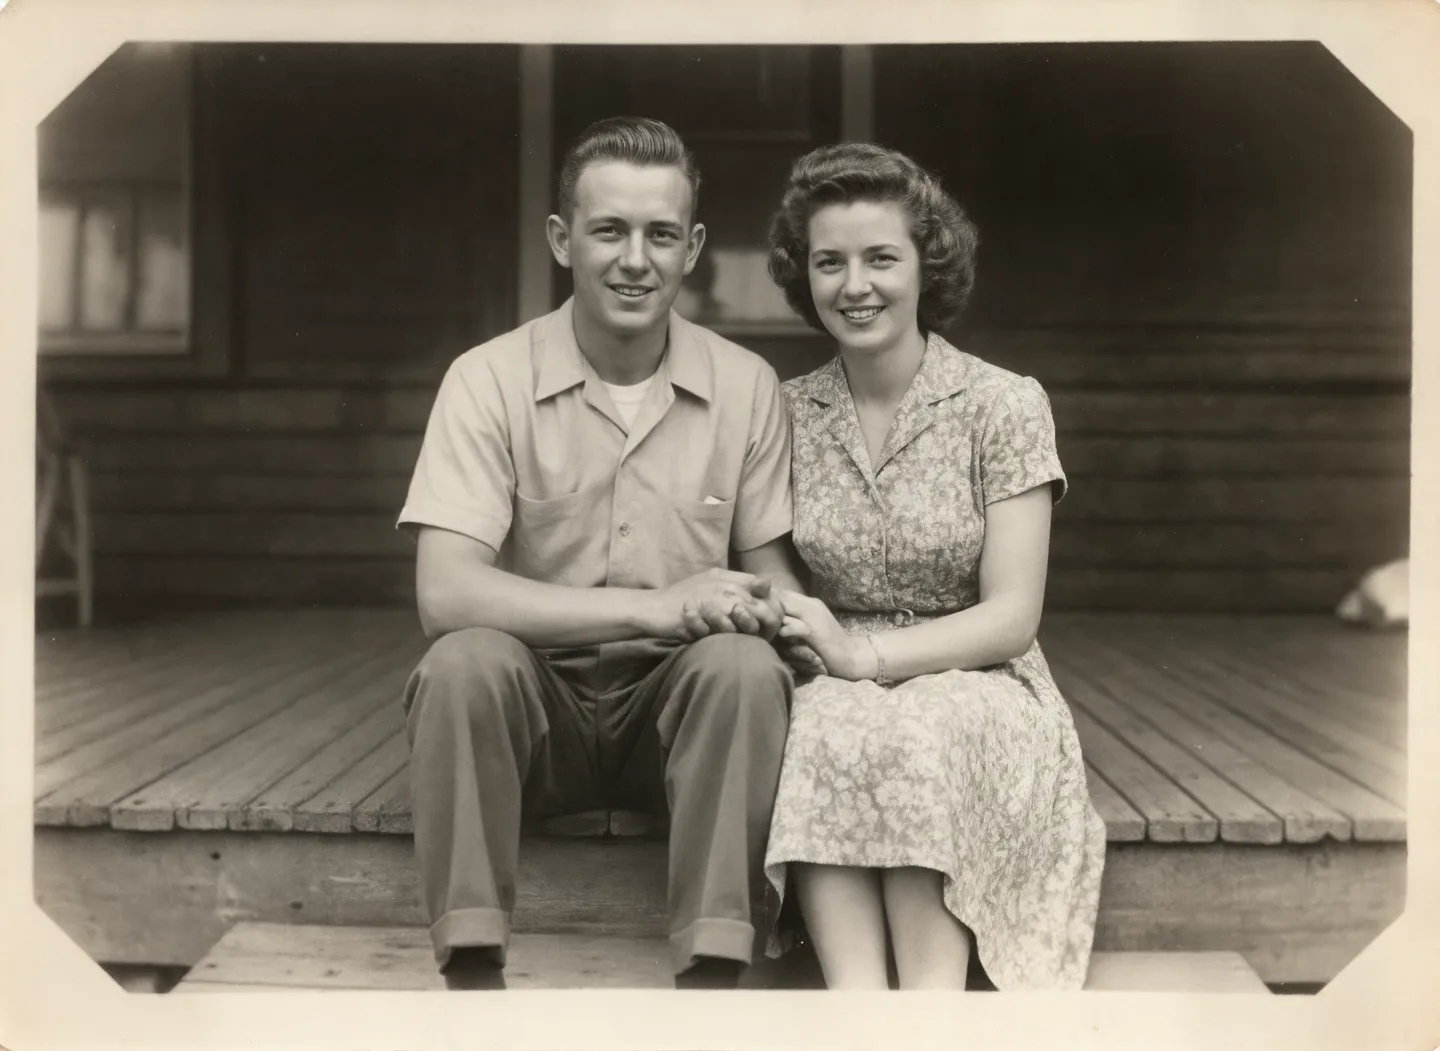
A real example: our restored family photo sample was 1184 x 864 pixels (just over one megapixel). After one pass through the upscaler it was 2368 x 1728 pixels, about 4.1 megapixels. Checked against the table above, that covers a 5 x 7 print at 300 DPI and an 8 x 10 at 200 DPI, while the original only covered a 4 x 6 at about 200 DPI.
Tips that make AI upscaling work:
- Start from the cleanest copy. The upscaler treats JPEG blocks and noise as detail and enlarges them. Use the least compressed version you have.
- Fix damage first. For old or scratched photos, run the photo restorer before upscaling, or the scratches get sharpened too. The guide to restoring old photos with AI covers that order step by step.
- Describe the image. A few words about the subject keep skin looking like skin and foliage looking like foliage.
- Check faces, hands and text at 100 percent. If something drifted, generate again; a second run often differs.
- Upscale once, then resample. If you need 2.5 times, upscale 2 times with AI and finish the last step in an editor. Chaining AI passes compounds invented detail.
Which method to use
| Your image | Best method | Why |
|---|---|---|
| Screenshot, document, chart | Resample | Text must stay exactly as it is |
| Photo needing up to 1.5 times | Resample, then sharpen | Small gains look natural with no invented detail |
| Small photo or AI image needing 2 times | AI upscaler | Adds texture that resampling cannot |
| Old, damaged print | Restore, then AI upscale | Upscaling first enlarges the damage |
| Already over 4 megapixels | Usually nothing | Enough for most screens and an 8 x 10 at 200 DPI |
| Product photo for a shop | Reshoot if you can, else AI upscale | Labels and logos are where predicted detail goes wrong |
When it will not work
Some images cannot be rescued by any method. A face that is 20 pixels wide in a group photo has no features for the model to work from; it will draw a face, not that face. Heavy motion blur, a subject that is out of focus, and photos compressed to a few kilobytes all fall in the same category. For those, the honest options are a better original, a crop that uses fewer pixels at a smaller print size, or accepting the softness.
For editing beyond size (removing objects, changing light, retouching), the AI photo editor takes a plain-language instruction. For product shots specifically, the product photos without a studio post covers how to get a sharper source photo in the first place.