To remove an object from a photo with AI, upload the photo to an object remover, describe the object by color and position ("the red car parked on the right"), generate, and compare the result with the original at full size. The model erases the object and paints in what was most likely behind it, matching the light, texture and perspective of the rest of the image. There is no brush and no mask: the description is the selection. That makes the wording the part that decides whether you get a clean result on the first try, so most of this guide is about what to write and how to check the fill.
Step 1: Decide what has to go, one thing at a time
Look at the photo and list the distractions in order of how much they pull the eye: a stranger in the background, a bin, a parked car, a power line across the sky, a sign. Remove the worst one first and keep the rest for later passes.
One object per generation is the rule that saves the most credits. Asking for "remove the people, the car and the sign" gives the model three areas to rebuild at once, and it often does two well and the third badly. Removing them one at a time means each pass is judged on its own, and you can stop as soon as the photo works.
Step 2: Describe the object so only one thing matches
The model has to find the object from your words alone. A description that matches two things in the picture is a coin toss.
| Vague | Specific |
|---|---|
| the car | the white van parked on the right edge |
| the person | the woman in the yellow coat walking behind the couple |
| the wires | the black power line crossing the sky from top left to right |
| the sign | the red "for sale" sign on the lawn |
| the trash | the green wheelie bin next to the front door |
Color, position (left, right, background, foreground, next to something) and one detail of shape are usually enough. If the area behind the object is ambiguous, say what should fill it: "remove the bin and continue the brick wall", "remove the tourists and show the empty stone steps". That turns a guess into an instruction and stops the model from replacing the object with a different one.
Step 3: Generate on the default model, then switch if needed
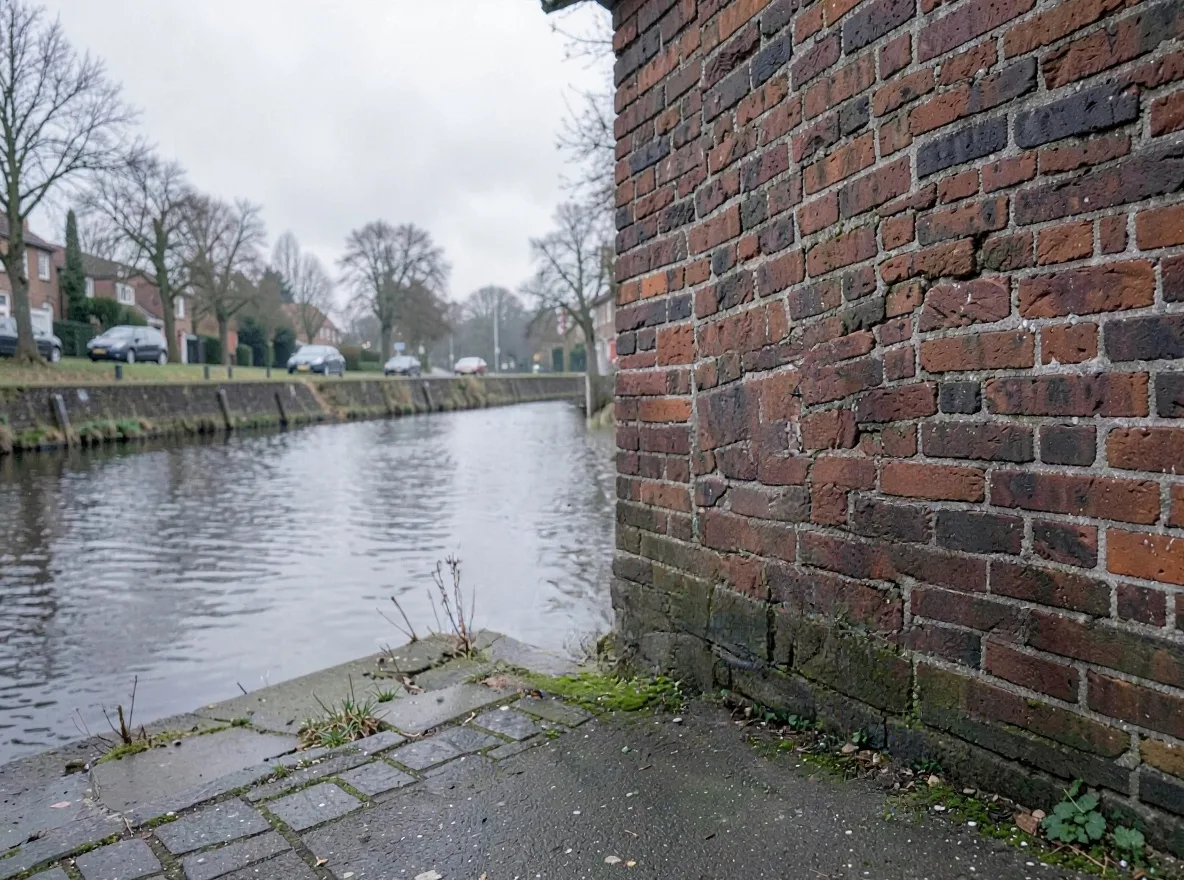
The object remover runs FLUX.1 Kontext [pro] by default, a model built for targeted local edits: it changes the area you named and leaves the rest of the photo untouched. The sample at the top of this page, a blue bicycle removed from in front of a brick wall, came back from Kontext at 1184 x 880 pixels on the first pass.
When Kontext leaves a ghost of the object or smears the texture behind it, run the same photo and description on Nano Banana Pro, which reasons about the whole scene and is better at rebuilding complex backgrounds such as patterned tiles, foliage or a crowd. GPT Image 2 follows long instructions closely and is the better choice when you also want something added in the same pass. Both are available in the tool's model menu, and the Generate button shows the credit price before anything is spent. New accounts get 60 free credits, enough for a first removal and a retry.
Step 4: Check the fill like an editor would
A removal looks fine at phone size and fails at full size. Zoom in and check these, in this order:
- Shadows. The object is gone but its shadow stays on the ground. This is the most common leftover. Run a second pass: "remove the shadow on the pavement where the bicycle was".
- Reflections. Windows, water, car paint and glossy floors may still show the object.
- Repeating patterns. Bricks, tiles, fences and window rows must line up across the filled area. A brick course that steps up half a brick is the giveaway.
- Edges of the main subject. If the removed object touched your subject, check that hair, shoulders and hands were not trimmed or reshaped.
- Text. Signs and shop names next to the filled area sometimes get garbled.
| Problem | Likely cause | Fix |
|---|---|---|
| A faint outline remains | The object was large or high contrast | Run a second pass on the result, or switch to Nano Banana Pro |
| The object was replaced by a different object | The model guessed what belongs there | Say what should be there instead |
| The wrong thing was removed | Two things matched the description | Add color and position until only one matches |
| The person you kept changed slightly | The removed person overlapped them | Use a photo where they are apart, or accept a crop |
| The photo got smaller | Edits return about one megapixel | Upscale the result, see below |
Step 5: Get the size back
Edited photos come back at about one megapixel, while a modern phone shoots 12 megapixels (4032 x 3024 pixels). For a social post or a listing that is fine. For a print, run the cleaned photo through the image upscaler, which doubles both sides and adds detail: the 1184 x 880 sample becomes 2368 x 1760 pixels, enough for a sharp 8 x 6 inch print. Upscale last, after every removal pass, because each edit returns the one megapixel size again.
When object removal is the wrong tool
- You want the whole background gone. Use the background remover, which cuts the subject out cleanly in one step, then place it on a new background. The transparent background guide covers the PNG side.
- You want to change, not remove. Turning a grey sky blue, adding snow or changing a shirt color is an edit; the AI photo editor takes an instruction like "make it a snowy winter evening" and accepts up to 4 photos.
- The object covers most of the frame. If a bus fills half the picture, the model has to invent half a street. It will produce something plausible, but it is a new picture, not your photo.
- The photo is a record. Do not edit photos used as evidence, ID, insurance claims or anything where people rely on the image being unaltered. For property listings, removing a bin or a parked car is normal practice, but check your listing platform's rules before removing permanent features such as power lines or neighboring buildings. The real estate page has more on listing photos.
Ideas that work well
- Travel photos without tourists. Remove one group at a time, starting with the people closest to the camera.
- Product photos. Take out props, price stickers and the edge of the table, then follow the product photo guide for backgrounds and lighting.
- Family photos. Remove the photobomber, the cable on the wall or the exit sign above the door. For old prints with scratches, the photo restorer fixes damage in the same visit.
- Before you turn a photo into art. Clean the scene first, then repaint it with the photo to painting guide; fewer objects make a better painting.
Removing things from photos of other people is fine when it is your photo and they would not object to the result. Your uploads stay private in your account and are only sent to the model that runs your job.