The AI Photoshoot puts you in a studio, on a city street, at the beach or on a rooftop from a few selfies, and keeps your face the same. You pick the setting and, if you want, the outfit; the tool writes the prompt.
How to do an AI photoshoot from your selfies
Upload 1 to 4 selfies, pick a setting and an outfit, and get studio, street or beach shots with your face kept. Settings, tips and fixes.
Snap AI Studio team2 min read
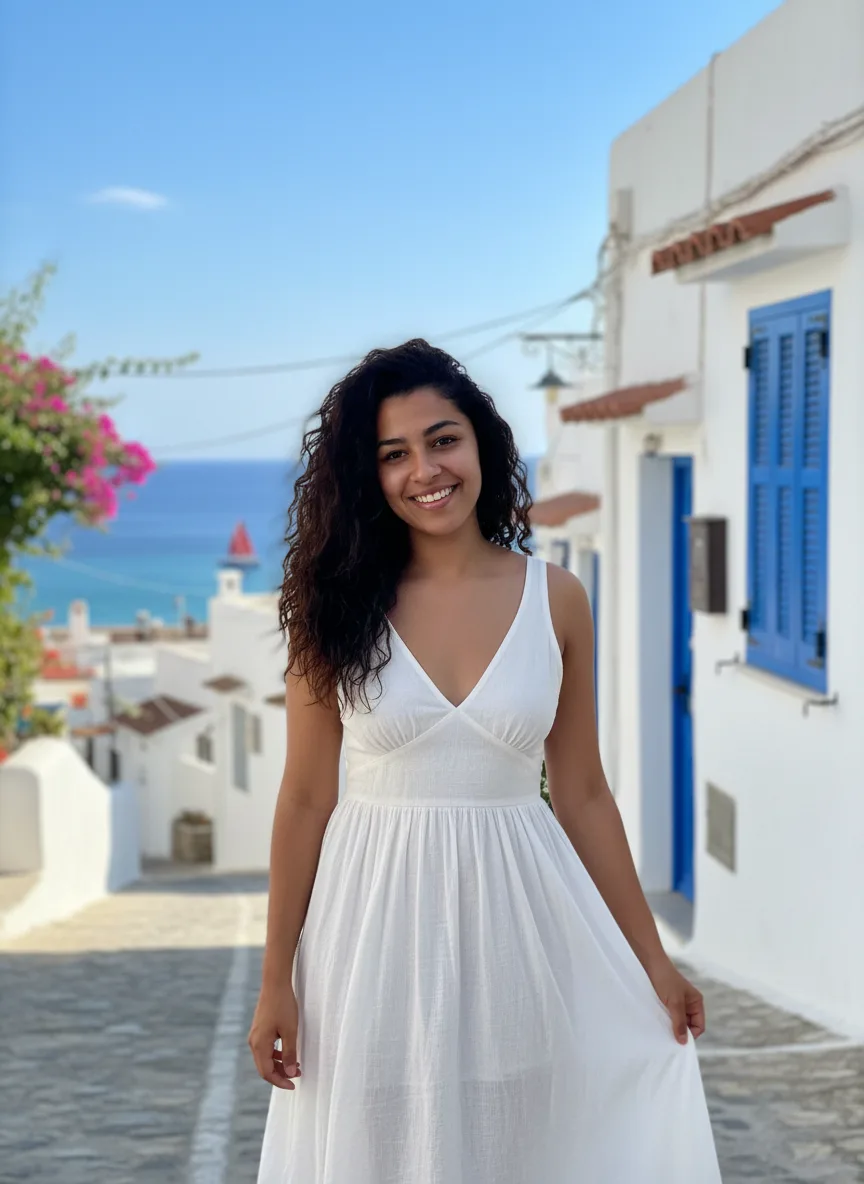
On this page
Steps
- 1
Open the AI Photoshoot
Go to the AI Photoshoot tool page. The studio there is set up for a photoshoot, and the prompt is written for you from the settings you pick. You can go through them before you sign in.
- 2
Upload your photos
Under Your photos, add 1 to 4 clear photos of the same person, with the face visible, good light and no sunglasses. Nano Banana, the default model, takes up to 3; the other models take 4. If you are not signed in, a sign-in box opens when you upload: create an account with an email and password, or continue with Google.
- 3
Choose a setting
Pick a clean white studio backdrop with soft key light (the default), golden hour on a city street, beach at sunset, a moody editorial set with colored gels, a minimal apartment with window light, or a rooftop at night with city lights.
- 4
Describe an outfit (optional)
Type an outfit in the Outfit field, for example "black blazer over a white tee". Leave it empty and that part is dropped from the prompt.
- 5
Pick a model and shape
Nano Banana is selected by default. The menu also has Nano Banana 2, Nano Banana Pro, Seedream 5.0 Lite, Seedream 4.5, GPT Image 2 and FLUX.2 [pro]. Portrait 3:4 is preselected; 1:1, 4:3, 16:9 and 9:16 are also available. Seedream 5.0 Lite, Seedream 4.5 and GPT Image 2 can make up to 4 images in one run.
- 6
Press Generate
The button shows the credit price before anything is spent, including the number of images you picked. The shots appear in the results panel after a short wait.
- 7
Download or share
Download the shots you like, or share one to the public gallery. Nothing is shared unless you choose to.
Tips
- Use photos with even light and your whole face visible. Sunglasses, hats and heavy filters make your likeness harder to keep.
- Two to four photos from different angles give the model more to work with than one.
- Run the same setting on two models. Nano Banana keeps faces close, Seedream adds more cinematic color.
- Switch to 9:16 for stories and reels, or 1:1 for a profile picture.
- Open "Prompt sent to the model" under the settings to see the exact prompt your choices produce.
Troubleshooting
- The face does not look like me
- Add more photos (up to the model's limit) with clear, even light, and generate again. Nano Banana Pro is sharper if the default is not close enough.
- I cannot add a fourth photo
- Nano Banana takes up to 3 reference photos. Switch to another model in the menu to use 4.
- The message starts with "This request was blocked"
- Our own check stopped the request, often because of something typed in the Outfit field. No credits were used. The link in the message explains the rule.
- The message says "The model's safety filter rejected this request"
- The model provider refused the request. Credits are refunded up to a daily limit. Rephrase the outfit or try another model.
- The upload says "File is too large" or "Unsupported file type"
- Use a PNG, JPEG or WebP under the size limit shown in the message. Export a smaller JPEG and upload it again.
- The generation failed
- The credits are refunded automatically and the result card says so. Try again or pick another model.
Questions
How many photos should I upload?
One clear selfie works. Two to four photos from different angles give the model more to go on and keep your likeness closer.
Which model should I use?
Start with Nano Banana, the default, because it keeps faces consistent. Try Nano Banana Pro for sharper detail and Seedream 5.0 Lite for full themed sets. Your settings stay the same when you switch.
Can I use the photos commercially?
Paid plans include commercial use of everything you generate, subject to each model provider's content policy.
What happens to my photos?
Uploads are stored privately in your account and are only sent to the model that runs your job.
Written by
Snap AI Studio team
The people who build and run Snap AI Studio. We write about the models, tools and credit prices in the product, and every guide is checked against how the app works today.
Related guides
Sep 28, 2026 · 1 min read · AI Headshot Generator
How to make an AI headshot from a selfie
Upload a clear selfie, pick attire and a backdrop, and generate a professional headshot that keeps your face. Settings, tips and fixes.
Sep 28, 2026 · 1 min read · AI Product Photos
How to make AI product photos from a phone photo
Upload a phone photo of your product, pick a scene and generate studio or lifestyle shots that keep the label and shape. Settings, tips and fixes.
Sep 28, 2026 · 2 min read · AI Hug Generator
How to make an AI hug video
Turn a photo of two people, or one photo of each, into a short hug video. Pick a hug style and a model, then download the MP4. Tips and fixes included.