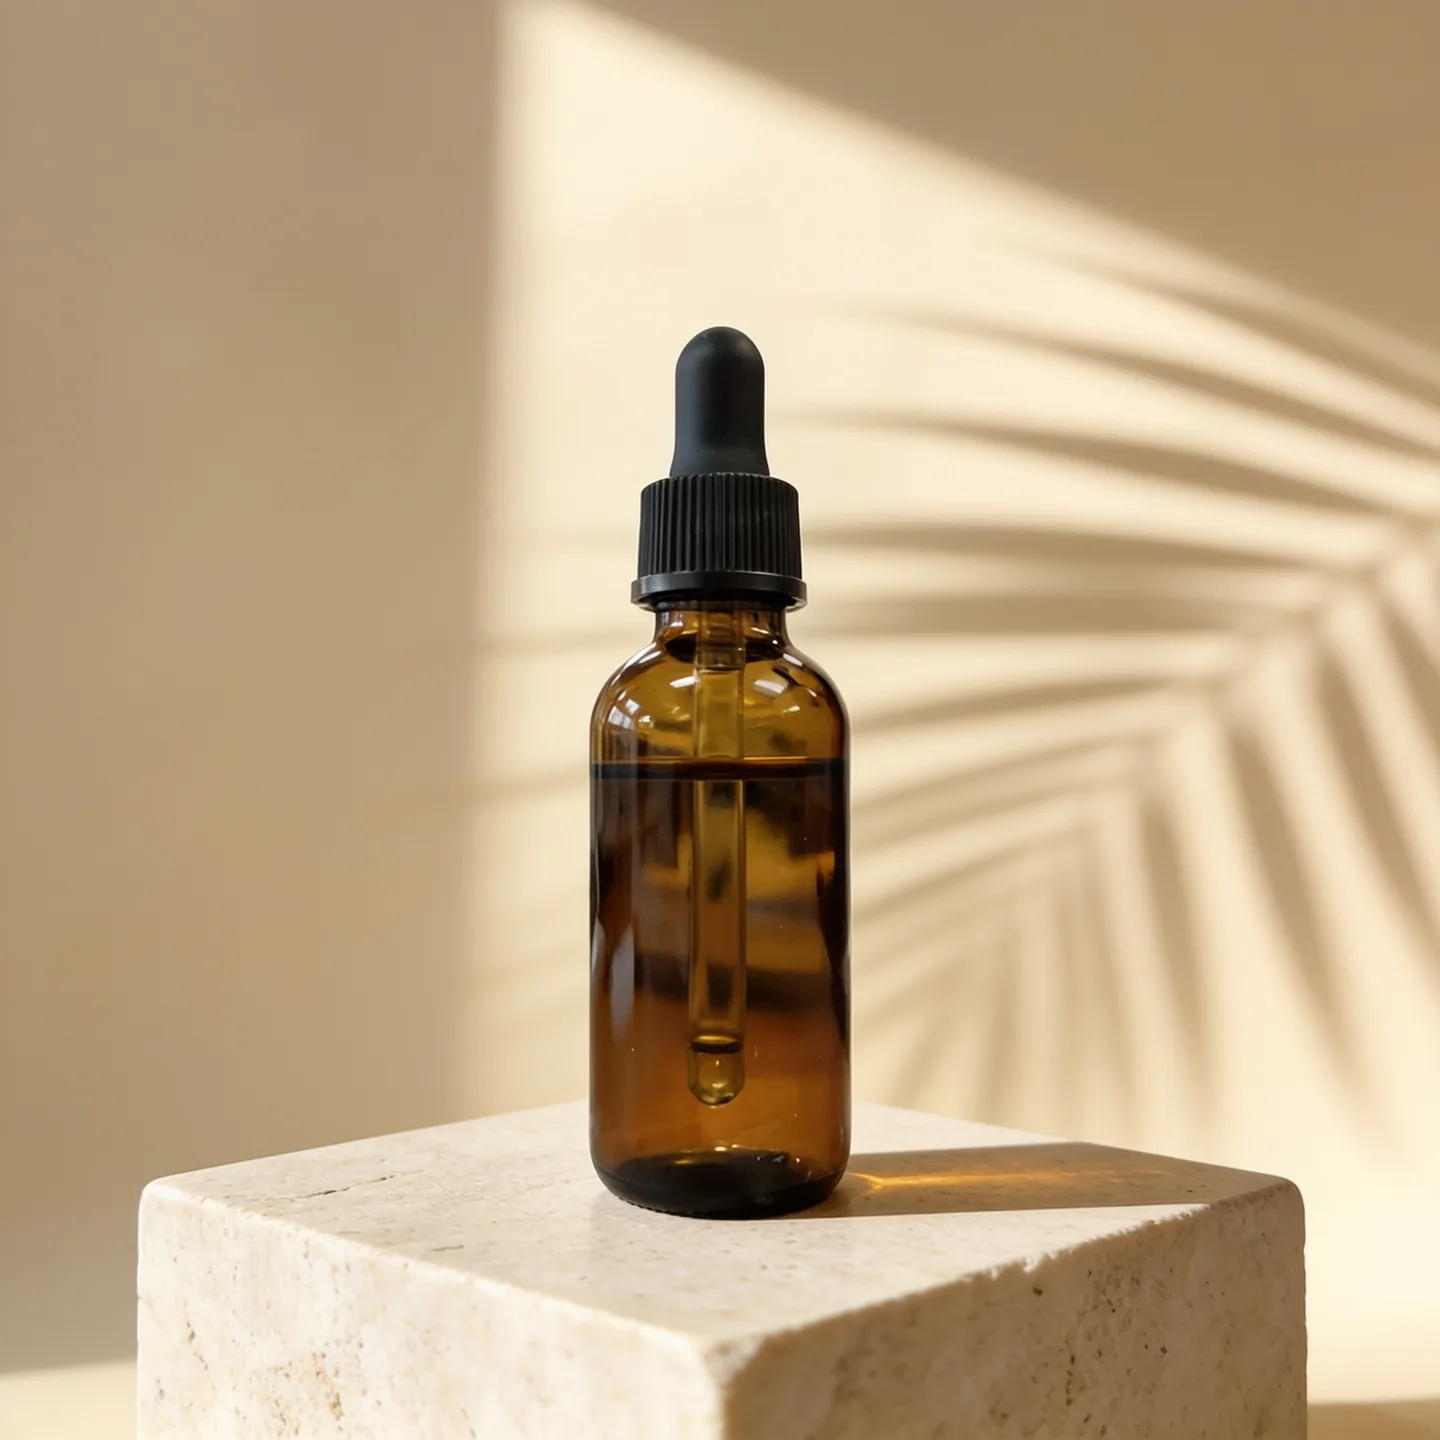
The AI Product Photo Generator places a product from a phone photo into a studio, lifestyle or seasonal scene, while keeping its shape, colors and label. It suits store listings, ads and marketplace thumbnails.
How to make AI product photos from a phone photo
Upload a phone photo of your product, pick a scene and generate studio or lifestyle shots that keep the label and shape. Settings, tips and fixes.
Snap AI Studio team1 min read
On this page
Steps
- 1
Open the AI Product Photo Generator
Go to the AI Product Photos tool page. The studio there is set up for product shots, and the prompt already tells the model to keep the product's shape, colors, label and text. You can set it up before you sign in.
- 2
Upload your product photos
Under Product photos, add 1 to 4 clear photos of the product; a plain background works best. Nano Banana takes up to 3, the other models 4. If you are not signed in, a sign-in box opens when you upload: create an account with an email and password, or continue with Google.
- 3
Pick a scene
Choose a marble counter with soft morning light (the default), a white seamless studio background, a wooden table with plants, floating with splashes of water, a podium with pastel shapes, or a festive holiday setting.
- 4
Choose a model
Seedream 4.5 is selected by default. The menu also has Seedream 5.0 Lite, Riverflow 2.5 Pro, Nano Banana, Nano Banana Pro, GPT Image 2 and FLUX.2 [pro].
- 5
Set the shape and number of images
Square 1:1 is preselected; 4:3, 3:4, 16:9 and 9:16 are also there. Seedream 4.5, Seedream 5.0 Lite and GPT Image 2 can make up to 4 images in one run.
- 6
Press Generate
The button shows the credit price before you spend anything, multiplied by the number of images you picked. The shots appear in the results panel after a short wait.
- 7
Check the label, then download
Zoom in on the label and any text before you use a shot, then download it. For a transparent PNG, run the result through the Background Remover.
Tips
- Shoot the product straight on in daylight against a plain wall for the cleanest reference.
- Upload more than one angle for products with text on several sides.
- Use the same scene for every product so the catalog looks consistent.
- Open "Prompt sent to the model" under the settings to see the exact prompt.
Troubleshooting
- The label text or logo came out wrong
- Generate again, or switch to Riverflow 2.5 Pro or Nano Banana Pro, which hold product text best. Always check text before publishing.
- The product shape changed
- Upload a sharper photo taken straight on with a plain background, and add a second angle.
- I cannot add a fourth photo
- Nano Banana takes up to 3 reference photos. Switch to another model to use 4.
- The message says "The model's safety filter rejected this request"
- The model provider refused the request. Credits are refunded up to a daily limit. Try another model.
- The upload says "File is too large" or "Unsupported file type"
- Use a PNG, JPEG or WebP under the size limit shown in the message.
- The generation failed
- The credits are refunded automatically and the result card says so. Try again or pick another model.
Questions
Will the label and logo stay correct?
The prompt tells the model to keep them, and Seedream, Nano Banana Pro and Riverflow are strongest at it. Check every shot before you publish it.
Can I get a transparent background?
Yes. Run the result through the Background Remover for a transparent PNG.
Can I use the results in my store and ads?
Paid plans include commercial use of everything you generate, subject to each model provider's content policy.
Written by
Snap AI Studio team
The people who build and run Snap AI Studio. We write about the models, tools and credit prices in the product, and every guide is checked against how the app works today.
Related guides
Sep 28, 2026 · 2 min read · AI Photoshoot
How to do an AI photoshoot from your selfies
Upload 1 to 4 selfies, pick a setting and an outfit, and get studio, street or beach shots with your face kept. Settings, tips and fixes.
Sep 28, 2026 · 1 min read · Image to Video
How to turn a photo into a video
Upload a start frame, describe the motion, pick a model, shape and length, and download the MP4. Settings, tips and fixes for image to video.

Sep 28, 2026 · 1 min read · AI Headshot Generator
How to make an AI headshot from a selfie
Upload a clear selfie, pick attire and a backdrop, and generate a professional headshot that keeps your face. Settings, tips and fixes.